products contractor-iconContractor Rewards
Call us Toll Free: 1-866-767-6374

DRICORE® Subfloor

Features & Benefits

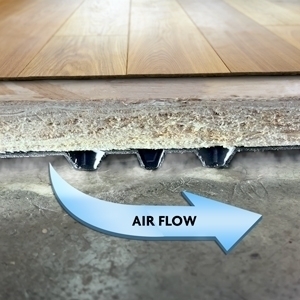
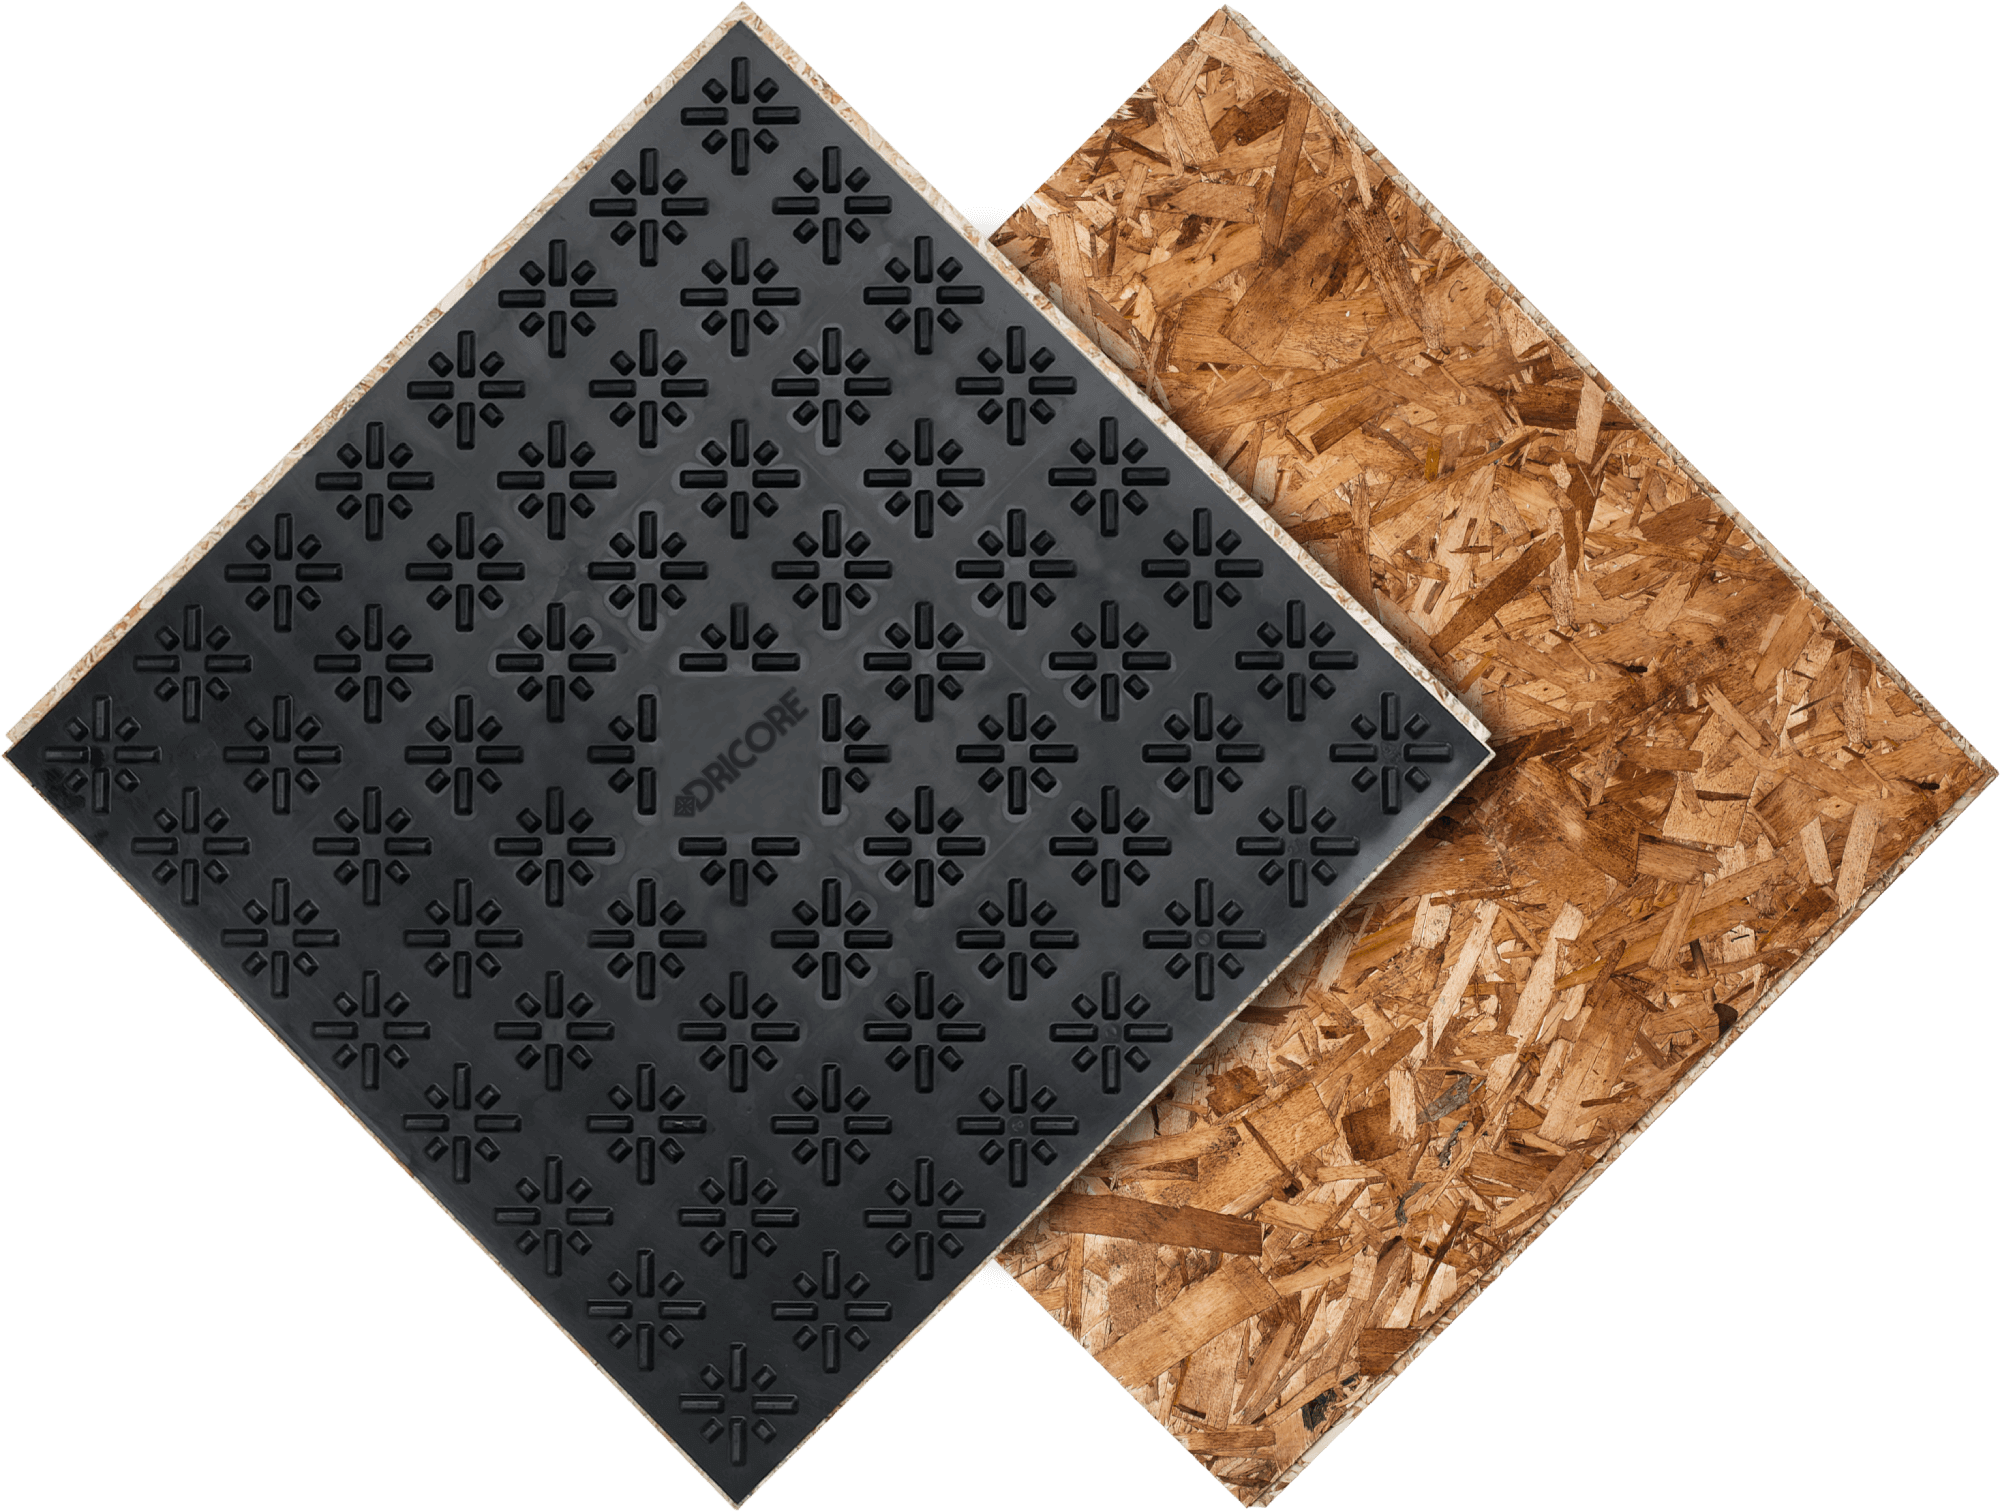
Air Gap Technology helps protect against moisture, mold, mildew and small water leaks
Makes finished floors up to 14F°/7°C warmer (R-value 1.4)
Eases strain and impact from walking on hard concrete
Helps promote healthy indoor air quality
Strong enough to support up to 6,642 lbs. per sq. ft.
Protects any finished floor type
Tongue and groove design makes installation fast and easy
Limited 25 year warranty

Help Create The Best Living Space For Your Family

Product Overview

Basement Science Behind DRICORE® Subfloors Subfloor

Features and Benefits

Air Gap - Small

Air Gap Technology

DRICORE® has been designed with Air Gap Technology that encourages air flow to help protect against moisture emitted from concrete floors, as well as small water leaks.

Layer 107

14F°/7°C Warmer

DRICORE® Subfloor panels elevate your finished floors to create a thermal break from the cold concrete floors. Stay comfortable with floors that feel warmer all year round.

Layer 108

Soft

Concrete floors are hard and unforgiving on your body over time. DRICORE® Subfloors help soften finished floors for a greater level of comfort.
Easy to Install

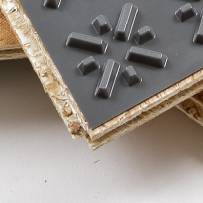
Easy to Install

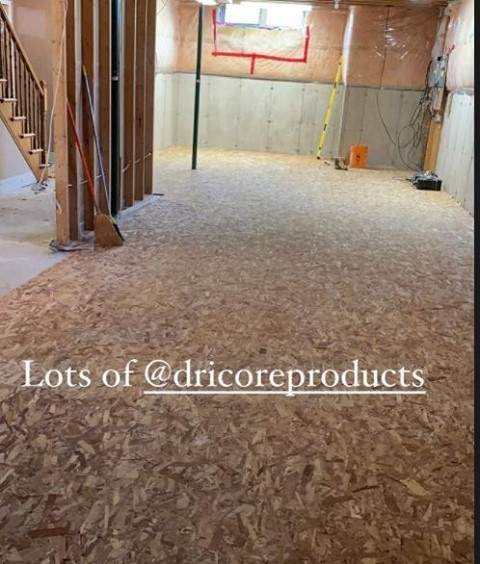
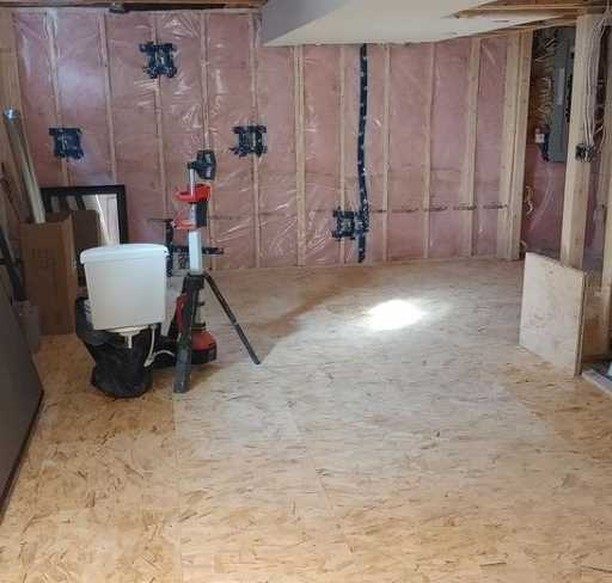
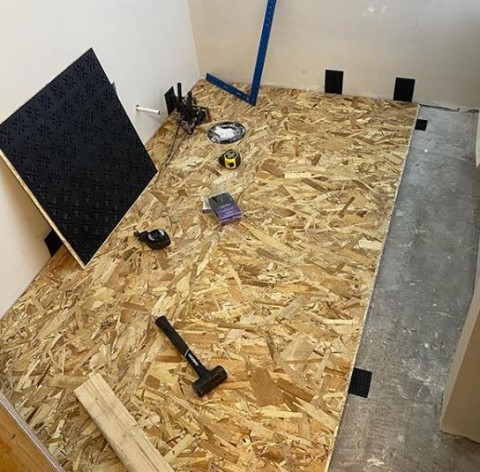
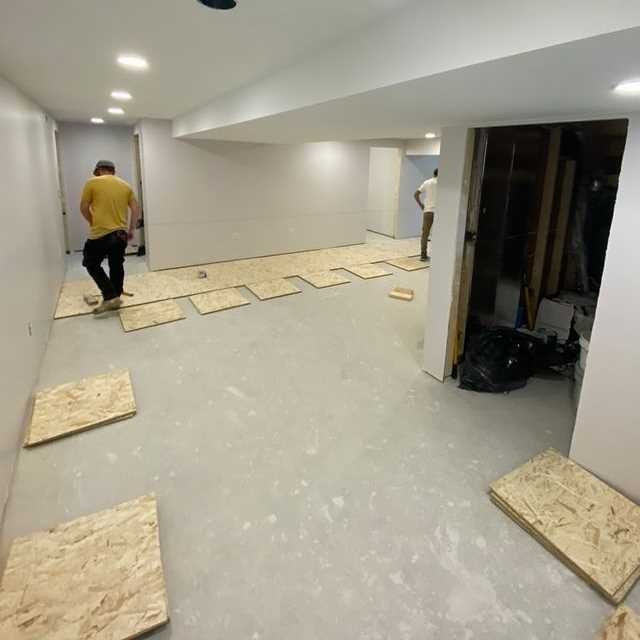
Tongue and groove design makes the installation fast and easy. A 500sq. ft. room can be completed in an afternoon!

air-quality

Air Quality

Raised subfloor panel design creates positive airflow beneath finished floors to help protect against mold and mildew growth.
Protects-Finished-Floors

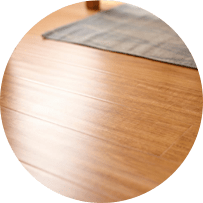
Protects Finished Floors

Compatible with all types of finished flooring, can be used with laminate, luxury vinyl tile (LVT), engineered hardwood, carpet, and tile.
pool-table

Strong

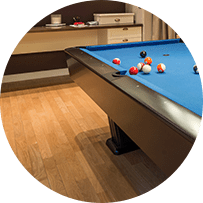
Strong enough to support gym equipment, and large furniture, DRICORE® Subfloors are rated to support up to 6,642 lbs. per sq. ft.

Limited 25 Year Warranty

Limited 25 Year Warranty

Backed by a 25 year limited warranty, be confident when you choose DRICORE® Subfloors.

Install Instructions

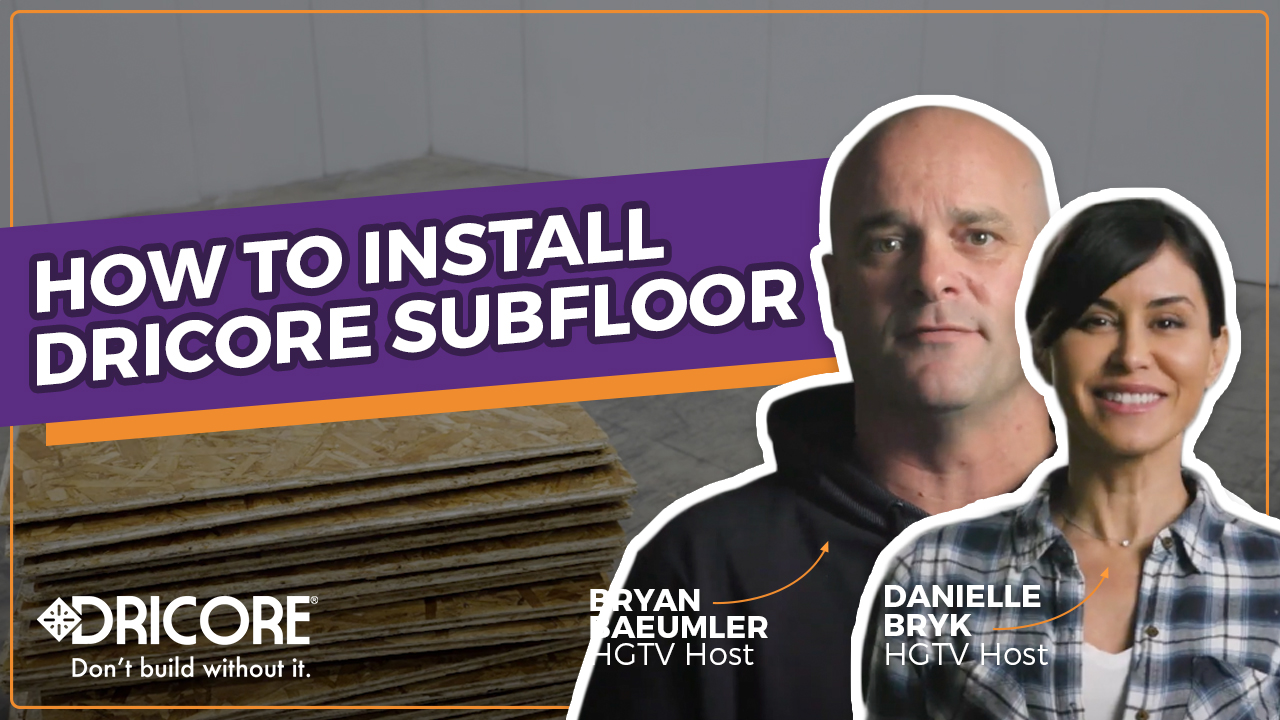
How To Install DRICORE® SUBFLOOR

Accessories and Tools

New Project (14)

DRICORE® Leveling Kit - 24 Pack

For sloping or uneven sections of your concrete foundation, DRICORE® leveling shims nest underneath DRICORE® subfloor panels to quickly adjust the height by up to 1/4”.

New Project (49)

Tools Required

  1. Hammer
  2. Tapping block (piece of 2″x4″ lumber)
  3. Saw
  4. Pencil
  5. Level
  6. ¼” spacer (example: wood strip)
  7. Tape measure
  8. Pry bar or crowbar (optional)
Write a review about this product

Testimonials

Bryan Baeumler (HGTV Host and Professional Contractor)

“In my mind, you cannot finish a basement without putting down DRICORE®. Every house I’ve ever built has DRICORE® in the basement, it’s the only way to do it.” - Bryan Baeumler
Watch Video

Steve Maxwell (Professional Contractor)

“Nobody wants a musty smell in the house and that’s why I go with DRICORE® Subfloors.” - Steve Maxwell
Watch Video

Skip Bedell (TV Host and Professional Contractor)

“You never want to put your finished floors on top of wet, damp, and cold concrete. DRICORE® Subfloors gives you a layer of protection to help with moisture and cold coming from concrete.” - Skip Bedell
Watch Video

Which Subfloor Is Right For You?

Product


Gold


Platinum


Diamond

R-Value1.42.74.1
Weight Supported (per sq. ft.)6,642 lbs. (3,012 kg)3,153 lbs. (1,430 kg)3,650 lbs. (1,659 kg)
Air FlowYesYesYes
TopOSBOSBEPS Foam
BottomHigh Density PlasticFoamEPS Foam
Size23.25" x 23.25" x 0.75"
(59 cm x 59 cm x 1.9 cm)
23.25" x 23.25" x 1"
(59 cm x 59 cm x 2.5 cm)
47.25" x 23.25" x 1"
(120 cm x 59 cm x 2.5 cm)
Height0.75" (1.9 cm)1" (2.5 cm)1" (2.5 cm)
Weight6.6 lbs. (3.0 kg)6.1 lbs. (2.8 kg)1.6 lbs. (0.7 kg)
Finished Flooring OptionsLaminate, Engineered Hardwood, Carpet, Vinyl, Tile, Stone Plastic CompositeLaminate, Engineered Hardwood, Carpet, Vinyl, Tile, Stone Plastic CompositeLaminate, Engineered Hardwood, Luxury-Vinyl (LVT/LVP) ≥5mm, Stone Plastic Composite
Warranty25 Year25 Year25 Year

Project Calculator

Enter Linear Square Footage


Formula

Length x Width = Square Footage
Square Footage / 3.3 = Number of Recommended Panels
Note: Actual panel dimensions are 23.25” x 23.25”

* This calculation includes an allowance for
obstacles and off-cuts

Frequently Asked Questions

Most basement floors, even in new homes, are damp. Concrete is a porous substance and requires air circulation. As temperatures in the basement fluctuate, it creates the perfect environment for moisture to accumulate between the underpad and concrete. This is where mold can begin to germinate which can lead to poor indoor air quality. A subfloor ensures there is an air gap between the finished floor and the concrete to help protect against moisture, mold and mildew.

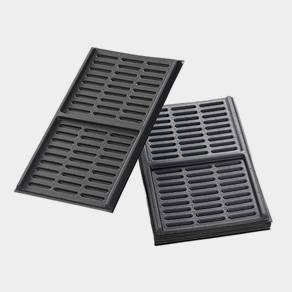
DRICORE® Subfloor is a simple do-it-yourself solution to help you create a warm, dry, comfortable basement that is fast and easy to install. DRICORE® Subfloor is designed with a high density plastic membrane containing a patented air gap pattern to ensure moisture emitted from concrete floors can naturally evaporate. The secondary layer of oriented strand board (OSB) provides a solid foundation that can support any type of finished floor and furniture.

DRICORE® Subfloor has an integrate high density polyethylene membrane bonded to the underside of the panel which provides an excellent moisture barrier. DRICORE® Subfloor has also been designed with Air Gap technology that encourages constant air flow and evaporation of surface moisture emitted from your basement concrete floor.

Color and texture variances are natural and not an indication of quality. Variances can be driven by several factors including; the type of trees, the geographical location of the trees and the growing conditions.

A conventional subfloor includes 2×4 sleepers, vapour barrier, 1″-2″ rigid insulation, 15/32″ plywood, and a lot of fastening. The combined height is between 2-1/4″ and 5-1/4″ compared to 1″ for a DRICORE® Subfloor R+ panel.

Sometimes wood variances occur, in this situation manually insert the tongue into the groove by lifting the boards slightly and inserting.

The DRICORE® Subfloor panels are only 3/4″ in thickness, less than half of the height of a conventional subfloor.

DRICORE® Subfloor can support 6,642 pounds per square foot and DRICORE® Subfloor R+ can support 3,153 pounds per square foot as tested by an independent lab, so heavy furniture and equipment like pool tables, weight sets, and pianos are not a problem.

The DRICORE® Subfloor panels come in a 3/4″ x 23.25″ x 23.25″ format. This size was created to provide a convenient, lightweight solution that is easy to handle and maneuver when loading into basements.

Yes. The DRICORE® Subfloor panels feature a 25 year limited warranty.

Yes, the panels cut quickly with a circular saw, jigsaw, or hand saw.

The length of installation time will vary by the room size and complexity of room layout. An average 400 square foot basement should take 4 hours.

Yes, the easy-to-handle, 3/4″ x 23.5″ x 23.5″ panels are configured with a tapered tongue and groove edge making panel assembly fast and easy. Panels cut quickly with a circular saw, jigsaw, or hand saw.

No. Gluing the panel edges is not recommended. The panels are intended to expand and contract with the seasonal temperatures of the basement. A vapour barrier over the concrete surface is not recommended. The built-in high-density polyethylene membrane is the moisture barrier on the underside of the panel, which allows incidental moisture to dry easily.

Yes. For uneven floor variances greater than 1/4″, we recommend first using a concrete self-patching compound or a similar liquid concrete patching product. For floor variances less than 1/4”, we recommend DRICORE® leveling shims.

To check for floor height variances, take a 4ft level or longer straight edge and place over the concrete surface where the installation is to take place. Raise the straight edge or level to the level line and measure the height difference between the concrete floor surface and straight edge with a measuring tape. Mark the spots on the concrete floor where liquid leveling is required and fill in as necessary.

DRICORE® Subfloor can be installed in basements, slab-on-grade homes, garages, workshops, storage rooms, bathrooms, laundry rooms and above ground concrete floors.

Yes. When installing DRICORE® Subfloor panels up to shower stalls or bathtubs, run a flexible caulking to seal the gap between the finished floor and the tub/shower unit in this area to prevent excessive moisture from seeping between the finished floor and DRICORE® Subfloor panels. Continue to leave the 1/4″ spacing around the remaining perimeter edges as specified in our installation instructions.

While DRICORE® Subfloor panels can carry the weight of tubs and/or shower stalls, it is recommended to install these fixtures directly over the concrete surface as to prevent exposure to leaks from plumbing or cracks in seams or fixtures to the surface of DRICORE® Subfloor.

See the finished flooring section for details on finished flooring installations.

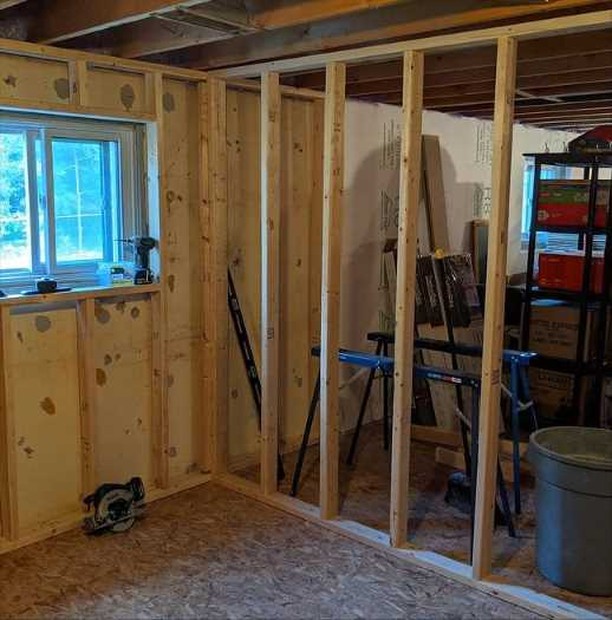
Stud walls can be set right on top of your new DRICORE® Subfloor. Install your 2’ X 4’ walls directly on top of the DRICORE® Subfloor panels, measuring for a snug fit between the panels and ceiling. Once the walls are framed and in position, simply screw the bottom plates of the 2’ X 4’ wall to the DRICORE® Subfloor panels, using 2″ wood screws.

To finish the anchoring process, we suggest pinning the bottom plate to the concrete floor either using 3″ concrete nails or self-tapping concrete fasteners. Only minimal fastening to the concrete is required. For example, on an 8-foot length of the wall, you would require only two fastening points (one at both ends). Again, only minimal fastening to concrete is required. Too many fastening points breaking through the polyethylene moisture barrier may defeat the moisture resistant benefit of the DRICORE® Subfloor system.

When you install your subfloor over an unfinished basement, with the intention of framing your inside walls on top, you have to install the subfloor panels with a 1″ perimeter gap to the foundation wall.

NOTE: If you are planning to use metal studs in place of wood, the base track for the studs should be affixed to the DRICORE® Subfloor panels with wood screws. Metal stud baseplates should be anchored to panels every 2 feet when installing over DRICORE® Subfloor panels. As above, two fasteners should penetrate the panel and go into concrete, securing the wall into place.

No problem. It is recommended when installing drywall to leave a 1/4″ gap between the concrete floor and the base of the drywall to avoid moisture contamination. Install 1/4″ spacers between the drywall and the DRICORE® Subfloor panels before panel installation.

Any surface treatments such as paints, stains, varnishes, and polyurethanes must be tested first for compatibility.

To apply, brush or roll on one coat of a high quality primer prior to painting, or 2-3 coats of polyurethane or varnish to the surface of DRICORE® Subfloor panels. Ventilate well during this process.

Laminate, Vinyl (LVT/LVP), Carpet, Engineered Hardwood, Tile

The ventilation system of your home recycles air causing pressure changes throughout the house. These pressure changes force air under baseboards, cracks, expansion gaps, cavities of studs, leaks from ducting etc… Do not seal or block the 1/4″ gap in a way that prevents air from filtering underneath panels. When installing trim, it is best to raise the trim slightly above the finished flooring material, by approximately 1/8″, to help encourage airflow. For basement conditions, proper ventilation and a dehumidifier is recommended to control temperature and humidity levels.

Yes. Install DRICORE® Subfloor panels as recommended in our instruction sheets. For garage installations, panels must end a minimum 1ft from the garage door opening. Anchor panels with Tapcon type concrete fasteners at the leading edge, install a 3/4″ transition strip to protect the edges of the panels, and anchor perimeter wall edge panels to the concrete floor every second panel.

Not for most installations, but it is required in some installations. Below is a list of conditions that require fastening:

If a power carpet stretcher will be used to install carpeting: prevent panel uplift when stretching carpet by fastening DRICORE® Subfloor panels to the concrete floor with Tapcon type concrete fasteners at perimeter edges every four feet plus one in the panel in the centre of the room.

If using DRICORE® Subfloor panels for a garage or workshop where the panels will be left exposed, fasten every second panel along the perimeter wall edges to the concrete floor to prevent lateral movement or shifting with heavy equipment or use. Keep in mind that DRICORE® Subfloor panels are not manufactured to be a finished floor nor left exposed to exterior weather elements.

If installing walls on top of DRICORE® Subfloor: use two fasteners for each 8 foot base plate, through the panels and into the concrete floor to fasten base plates.

If installing tile on the DRICORE® Subfloor panels.

There are several options available for increasing airflow under DRICORE® panels. You can increase the occurrence of air flow under DRICORE® panels by cutting 3″ x 10″, or 4″ x 10″, air register vent openings every 10ft around the perimeter walls of the room to allow air to escape.

No, but if you have a drain or access to clean-outs, access should be maintained, not restricted. Be sure to check with your local authority for building code recommendations before covering any basement floor drain or clean-out access.

It is not a requirement to install a basement drain prior to installing DRICORE® Subfloor. If you install DRICORE® Subfloor panels over the drain access, cut an access opening in the panel that rests over top of the drain and install a decorative floor drain cover over top of your finished flooring.

Transition strips for bridging floor height variations can be found in the flooring or lumber department of your local home improvement centre. Use a combination of 1″ flat moulding stock and quarter round mouldings as a transition.

It is recommended to install radiant floor heating systems on top of the DRICORE® Subfloor panels for optimal performance. The insulating properties of DRICORE® Subfloor will slightly reduce the effectiveness of a radiant floor heating system that is installed underneath DRICORE® Subfloor panels.

Estimating is easy. The total square footage of your room divided by 3.3 equals the number of panels you need. This factor includes an allowance for normal wastage and cutting around obstacles and pipes. To calculate how many panels you need.

Safety glasses, work gloves, pencil, measuring tape, carpenters square, circular saw and/or jig saw, level, hammer or rubber mallet, chalk line, taping block and pry bar are the basic tools that help to install DRICORE® subfloor panels quickly.

Please note: For protection against airborne dust particles, it is recommended to use a certified dust mask when cutting panels.

Skip Bedell (TV Host and Professional Contractor)

“You never want to put your finished floors on top of wet, damp, and cold concrete. DRICORE® Subfloors gives you a layer of protection to help with moisture and cold coming from concrete.”

Skip Bedell

Steve Maxwell (Professional Contractor)

“Nobody wants a musty smell in the house and that’s why I go with DRICORE® Subfloors.”

Steve Maxwell

Bryan Baeumler (HGTV Host and Professional Contractor)

“In my mind, you cannot finish a basement without putting down DRICORE®. Every house I’ve ever built has DRICORE® in the basement, it’s the only way to do it.”

Bryan Baeumler
{"video_yurl":"true"}

SIGN UP FOR OUR NEWSLETTER

To Receive Promotions, New Product Information, and Inspiring Ideas.